4. Using Kotlin With Gradle
You can use Gradle to manage the build process for Kotlin projects. This worksheet takes you through a simple example of this, which you can use as a template for your own projects.
4.1. Working From The Command Line
-
Download
gradledemo.zipand unzip it. Then cd into thegradledemodirectory and examine its contents.build.gradleis the Gradle buildfile that manages the project. It will ensure that basic dependencies (Kotlin and JUnit) are downloaded if necessary. You may need to add to the list of dependencies if using this as a template for your own project, and you will also need to modify the value ofmainClassName. The first part of the value is the name of the package containing your code and the second part is the name of the class containing the program entry point, as generated by the Kotlin compiler.Source code for the application and its unit tests can be found in subdirectories of the
srcdirectory. The application is undermain/kotlin/gradledemo, as the fileExamGrades.kt. The tests are undertest/kotlin/gradledemo, intests.kt. You will need to use an equivalent directory structure in your own projects, replacinggradledemowith the package name that you’ve used in the source files.The remaining files and directories provide the Gradle wrapper. This allows to run Gradle even it you haven’t already installed it on your system. The first time you run the wrapper, the needed files will be downloaded for you.
-
To see the tasks supported by the buildfile, do
./gradlew tasks
(If you are doing this on a Windows system, omit the leading
./.)Note
This may be quite slow the first time it runs, since it may need to download Gradle support files and other dependencies, and start the Gradle daemon.
-
Examine the program source code, then build and run the program with
./gradlew run
You should see this output:
Sarah Jones: Distinction
Ben Smith: Pass
David Armitage: Pass
Amanda Benson: Distinction
John Dobson: Fail
Gradle should also report ‘BUILD SUCCESSFUL’.
-
Examine the code for the unit tests, then build and run the tests with
./gradlew test
Gradle should report ‘BUILD SUCCESSFUL’, indicating that the code compiled and all the tests passed. Gradle also generates an HTML report on the tests. You can view this by opening the file
build/reports/tests/test/index.htmlin a browser.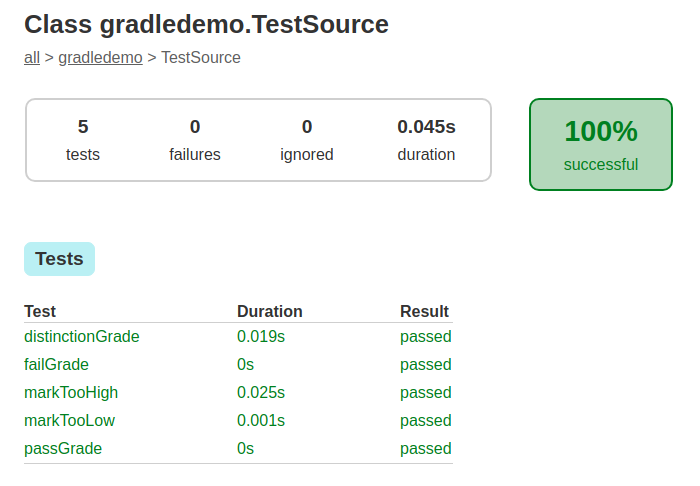
Part of the report generated by Grade’s ‘test’ task
-
Try generating a standalone JAR file containing the application, like so:
./gradlew jar
This should produce a JAR file in
build/libs, which you can run usingjava -jar gradledemo.jar
-
Finally, you can clean up the project using
./gradlew clean
This will remove the
buildsubdirectory entirely.
4.2. Importing Into IntelliJ
The gradledemo project also supports the use of IntelliJ.
-
Run IntelliJ and choose ‘Import Project’ from the Welcome screen, then select the
gradledemodirectory. On the next screen, make sure that the ‘Import project from external model’ option is selected and that Gradle is highlighted, then click Next.On the next screen, you can leave the import options at their defaults if you wish and click Finish.
-
Once the project has finished importing, you can activate the Gradle tool by clicking on the relevant button on the right of the IDE window, or by choosing from the menubar.
Expand the list of tasks to find the ‘run’ and ‘test’ tasks; the former will be under ‘application’ whereas the latter will be under ‘verification’. Double-click on a task to run it. Output from Gradle will appear in a panel at the bottom of the IDE.