15. Using The Camera
Android provides full access to the device camera hardware. In this worksheet, the camera will be used to capture photos, capture videos and scan QR codes.
15.1. Capture Photos
-
Create a new empty project, and remove the Hello World TextView in
activity_main.xml. -
Since the application requires using camera, put a <uses-feature> tag in
AndroidManifest.xml, this advertise that this application depends on having a camera:<uses-feature android:name="android.hardware.camera" android:required="true"/>
-
Now, change the layout from
ConstraintLayouttoRelativeLayout, then add abuttonand aimageViewto the layout at a suitable position. -
Then add a
setOnClickListenerfor the button which will invoke the function that takes a photo with a camera app.takePic.setOnClickListener{ dispatchTakePictureIntent() }
-
To delegate actions to other applications, in Android it invokes an
Intentthat describes what you want done. This process involves three pieces: the intent, a call to start the external Activity, and some code to handle the image data when returns to your activity.Here’s a function that invokes an intent to capture a photo:
val REQUEST_IMAGE_CAPTURE = 1

private fun dispatchTakePictureIntent(){
    val cameraIntent = Intent(MediaStore.ACTION_IMAGE_CAPTURE)
    if (cameraIntent.resolveActivity(packageManager) != null){
        startActivityForResult(cameraIntent,REQUEST_IMAGE_CAPTURE)
    }
}
resolveActivity()returns the first activity component that can handle the intent, it protects thestartActivityForResult()method, because ifstartActivityForResult()is called using an intent that no app can handle, the app will crash. So as long as the result is not null, it’s safe to use the intent. -
To get the thumbnail, Android Camera application encodes the photo in the return Intent delivered to
onActivityResult()as a small Bitmap in the extras, under the keydata.The following code retrieves this image and displays it in an ImageView:
override fun onActivityResult(requestCode: Int, resultCode: Int, intent: Intent?) {
   super.onActivityResult(requestCode, resultCode, intent)

   if (resultCode == RESULT_OK){
       if(requestCode == REQUEST_IMAGE_CAPTURE ){
           val imageBitmap = intent?.extras?.get("data") as Bitmap
           imageView.setImageBitmap(imageBitmap)
       }
   }
}
-
The following screenshots show how the app should work and what the results look like:

15.2. Capture Videos
-
Add another
buttonand avideoViewto the layout at a suitable position, then add asetOnClickListenerfor the button which invokedispatchTakeVideoIntent()function. -
Similarly to
dispatchTakePictureIntent(), we invoke an Intent:val REQUEST_VIDEO_CAPTURE = 2 private fun dispatchTakeVideoIntent(){ val takeVideoIntent = Intent(MediaStore.ACTION_VIDEO_CAPTURE) if (takeVideoIntent.resolveActivity(packageManager) != null){ startActivityForResult(takeVideoIntent,REQUEST_VIDEO_CAPTURE) } }
-
The Android Camera application returns the video in the
Intentdelivered toonActivityResult()as aUripointing to the video location in storage.The following code retrieves this video and displays it in a
VideoView:else if (requestCode == REQUEST_VIDEO_CAPTURE && intent != null){ videoView.setVideoURI(intent.data) videoView.start() }
-
To display only photo or video at one time,
setVisibility()could be used to set one of them visible as a time. For example, the following code could be written when displaying video only:imageView.setVisibility(View.INVISIBLE) videoView.setVisibility(View.VISIBLE)
Similar things could be done when displaying photos.
-
The output is similar to capture photos.
15.3. Scan QR Code
This app scans the barcode and QRcode using zxing library.
-
Update
build.gradle(Module:app)file, add dependencyimplementation 'com.journeyapps:zxing-android-embedded:3.6.0'
-
Add another
buttonand atextViewto the layout. ThetextViewis used to display the content of the QR code. -
Add a
setOnClickListenerfor the button, and add the following code to initiate scan:IntentIntegrator(this).initiateScan()
-
Now, parse the result in
onActivityResultand display the result if it is not nullval scanningResult = IntentIntegrator.parseActivityResult(requestCode, resultCode, intent) else{ if (scanningResult != null){ qrResult.setText(scanningResult.contents.toString()) } }
-
The scanning screen and result screen are shown below.
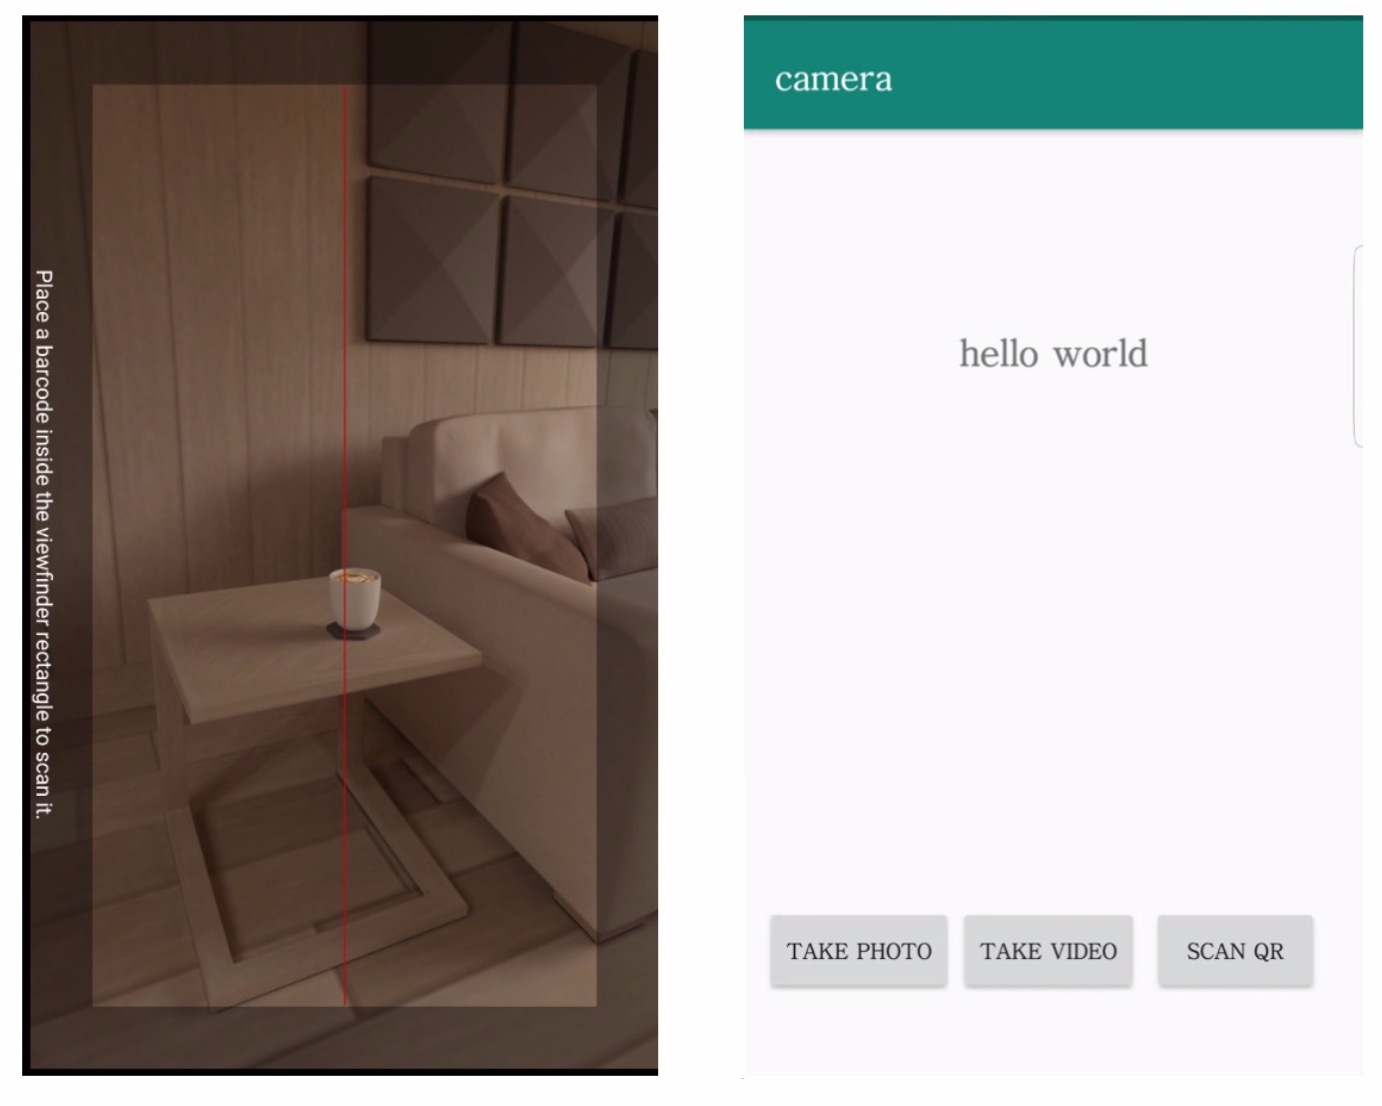
-
Here is a QR code with message “hello world”.
